ng-click="expression".
The expression can be anything, a function which performs some task or any arithmetic expression which evaluates some value.
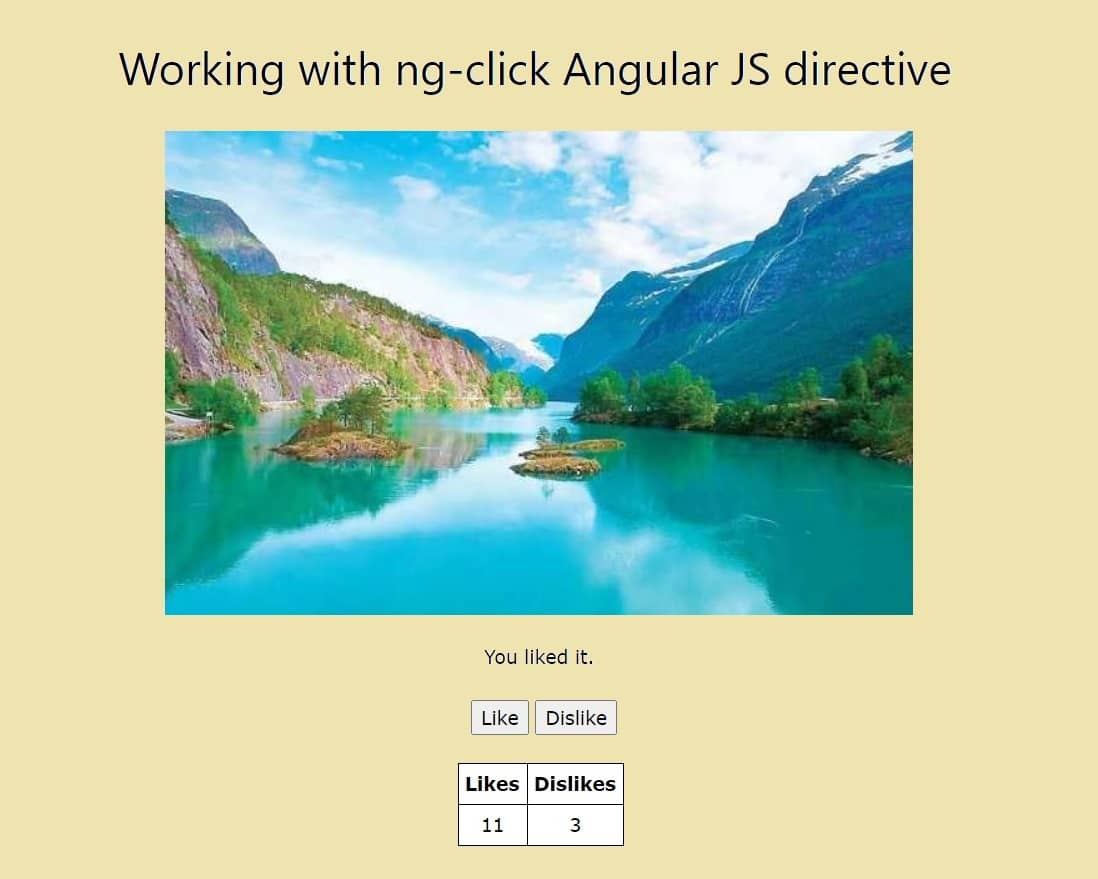
Here we will create a angular web application with two buttons Like and Dislike, count the number of likes and dislikes and display it.
Also read, Angular 12 Tutorial- Build your first Angular web application
How to add Bootstrap to your first Angular project
Create an angular application using ng-app in html
In the body section we have created a angular application using
ng-app directive.
Inside the angular ng-app we have created a controller using ng-controller directive. Next, inside the controller we used a binding expression
{{ text }}. After this we created two html buttons with ng-click directive one for like and another for dislike.
When user clicks on Like button likeText() function is called and when Dislike is clicked dislikeText() function is called.
These function has been defined in the index.html
<!DOCTYPE html>
<html>
  <head>
      <title>AnhularJS Like/Dislike</title>
      <script src="angular.js"></script>
  <script src="//cdnjs.cloudflare.com/ajax/libs/angular-ui-router/0.2.8/angular-ui-router.min.js"></script>
  <script src="app.js"></script>
      <link rel="stylesheet" href="https://www.w3schools.com/w3css/4/w3.css">
      <link rel="stylesheet" href="style.css">
  </head>
  <body ng-app="myApp">
      <h1 class="w3-center">Working with ng-click Angular JS directive</h1>
      <br><br>
      <div ng-controller="myController" class="w3-center w3-padding-top-16">
              <img src="image.jpeg" alt="image">
              <br><br>
              {{ text }}
              <br><br>
              <button ng-click="likeText()">Like</button>
              <button ng-click="dislikeText()">Dislike</button>
              <br><br>
              <div class="cont">
                  <table>
                      <thead>
                          <tr>
                              <th>Likes</th>
                              <th>Dislikes</th>
                          </tr>
                      </thead>
                      <tbody>
                          <tr>
                              <td>{{ likeCount }}</td>
                              <td>{{ dislikeCount }}</td>
                          </tr>
                      </tbody>
                  </table>
              </div>
      </div>
  </body>
</html>
Create an angular module and controller
We create a module using the module function of the angular object and save it in a variable app. The module function takes two parameters, the first one is name of the application for which we are creating the module and the second is
ui.router
which is another third party built in module.Next we create a controller, a controller is nothing but a javascript constructor function. To create a controller in angular we need to provide two parameters, one is name of the controller another is constructor function which takes $scope as a parameter. A
$scope is an angular js built in object which connects/binds the controller with the view or binding expression {{}}.
app.js
var app = angular.module("myApp", ['ui.router']);
app.controller("myController", function($scope){
  $scope.likeCount = 0;
  $scope.dislikeCount = 0;
  $scope.likeText = function (){
      $scope.text = "You liked it.";
      $scope.likeCount++;
  }
  $scope.dislikeText = function(){
      $scope.text = "You disliked it.";
      $scope.dislikeCount++;
  }
});
Stylesheet file
style.css
td {
  border: 1px solid black;
  padding: 5px;
}
th {
  border: 1px solid black;
  padding: 5px;
  text-align: left;
}
table {
  border-collapse: collapse;
  padding-left: 300px;
}
.cont {
  width:9%;
  margin-left: auto;
  margin-right: auto;
}
If you face any issue while implementing the code, you can mail me. Thanks for patient reading.
Published on July 9, 2021

